Print Folding Techniques
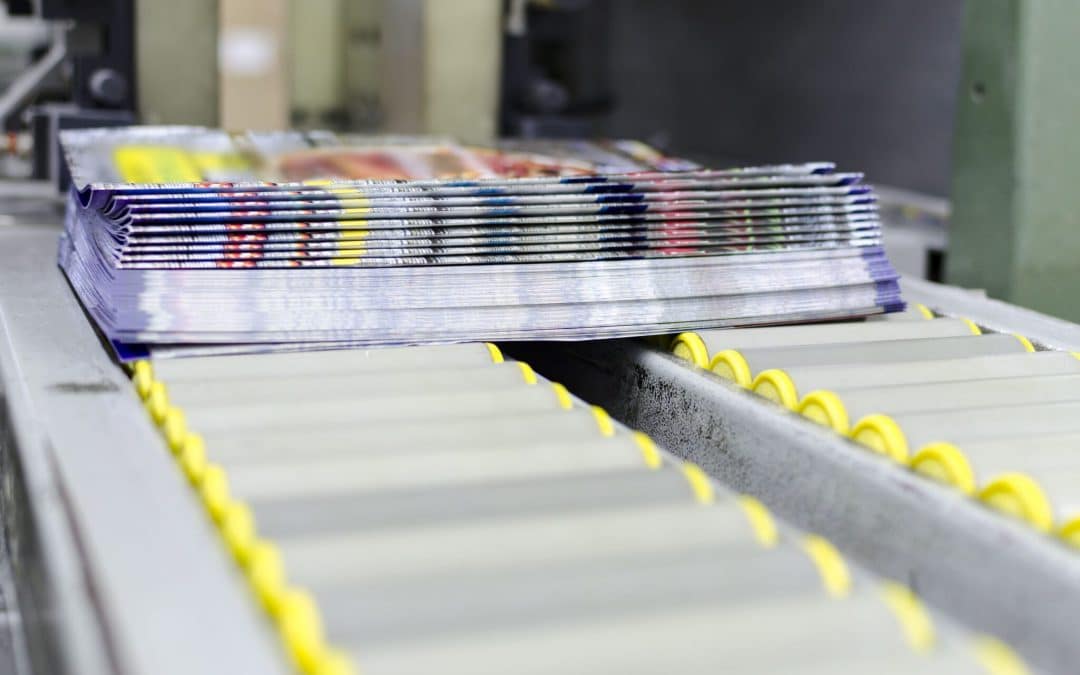
Print folding techniques allow you to create a variety of documents that go beyond a simple piece of paper. Folding adds a third dimension to your print material, making them more engaging and interesting to your customers.
At Dollco, we offer an extensive assortment of print folding techniques, and will explain how each of these works and can offer suggestions on how to use them. Try making a mockup yourself at home! You just might find yourself inspired to redesign your documents with these print folding techniques.
Simple Format and Folding Techniques
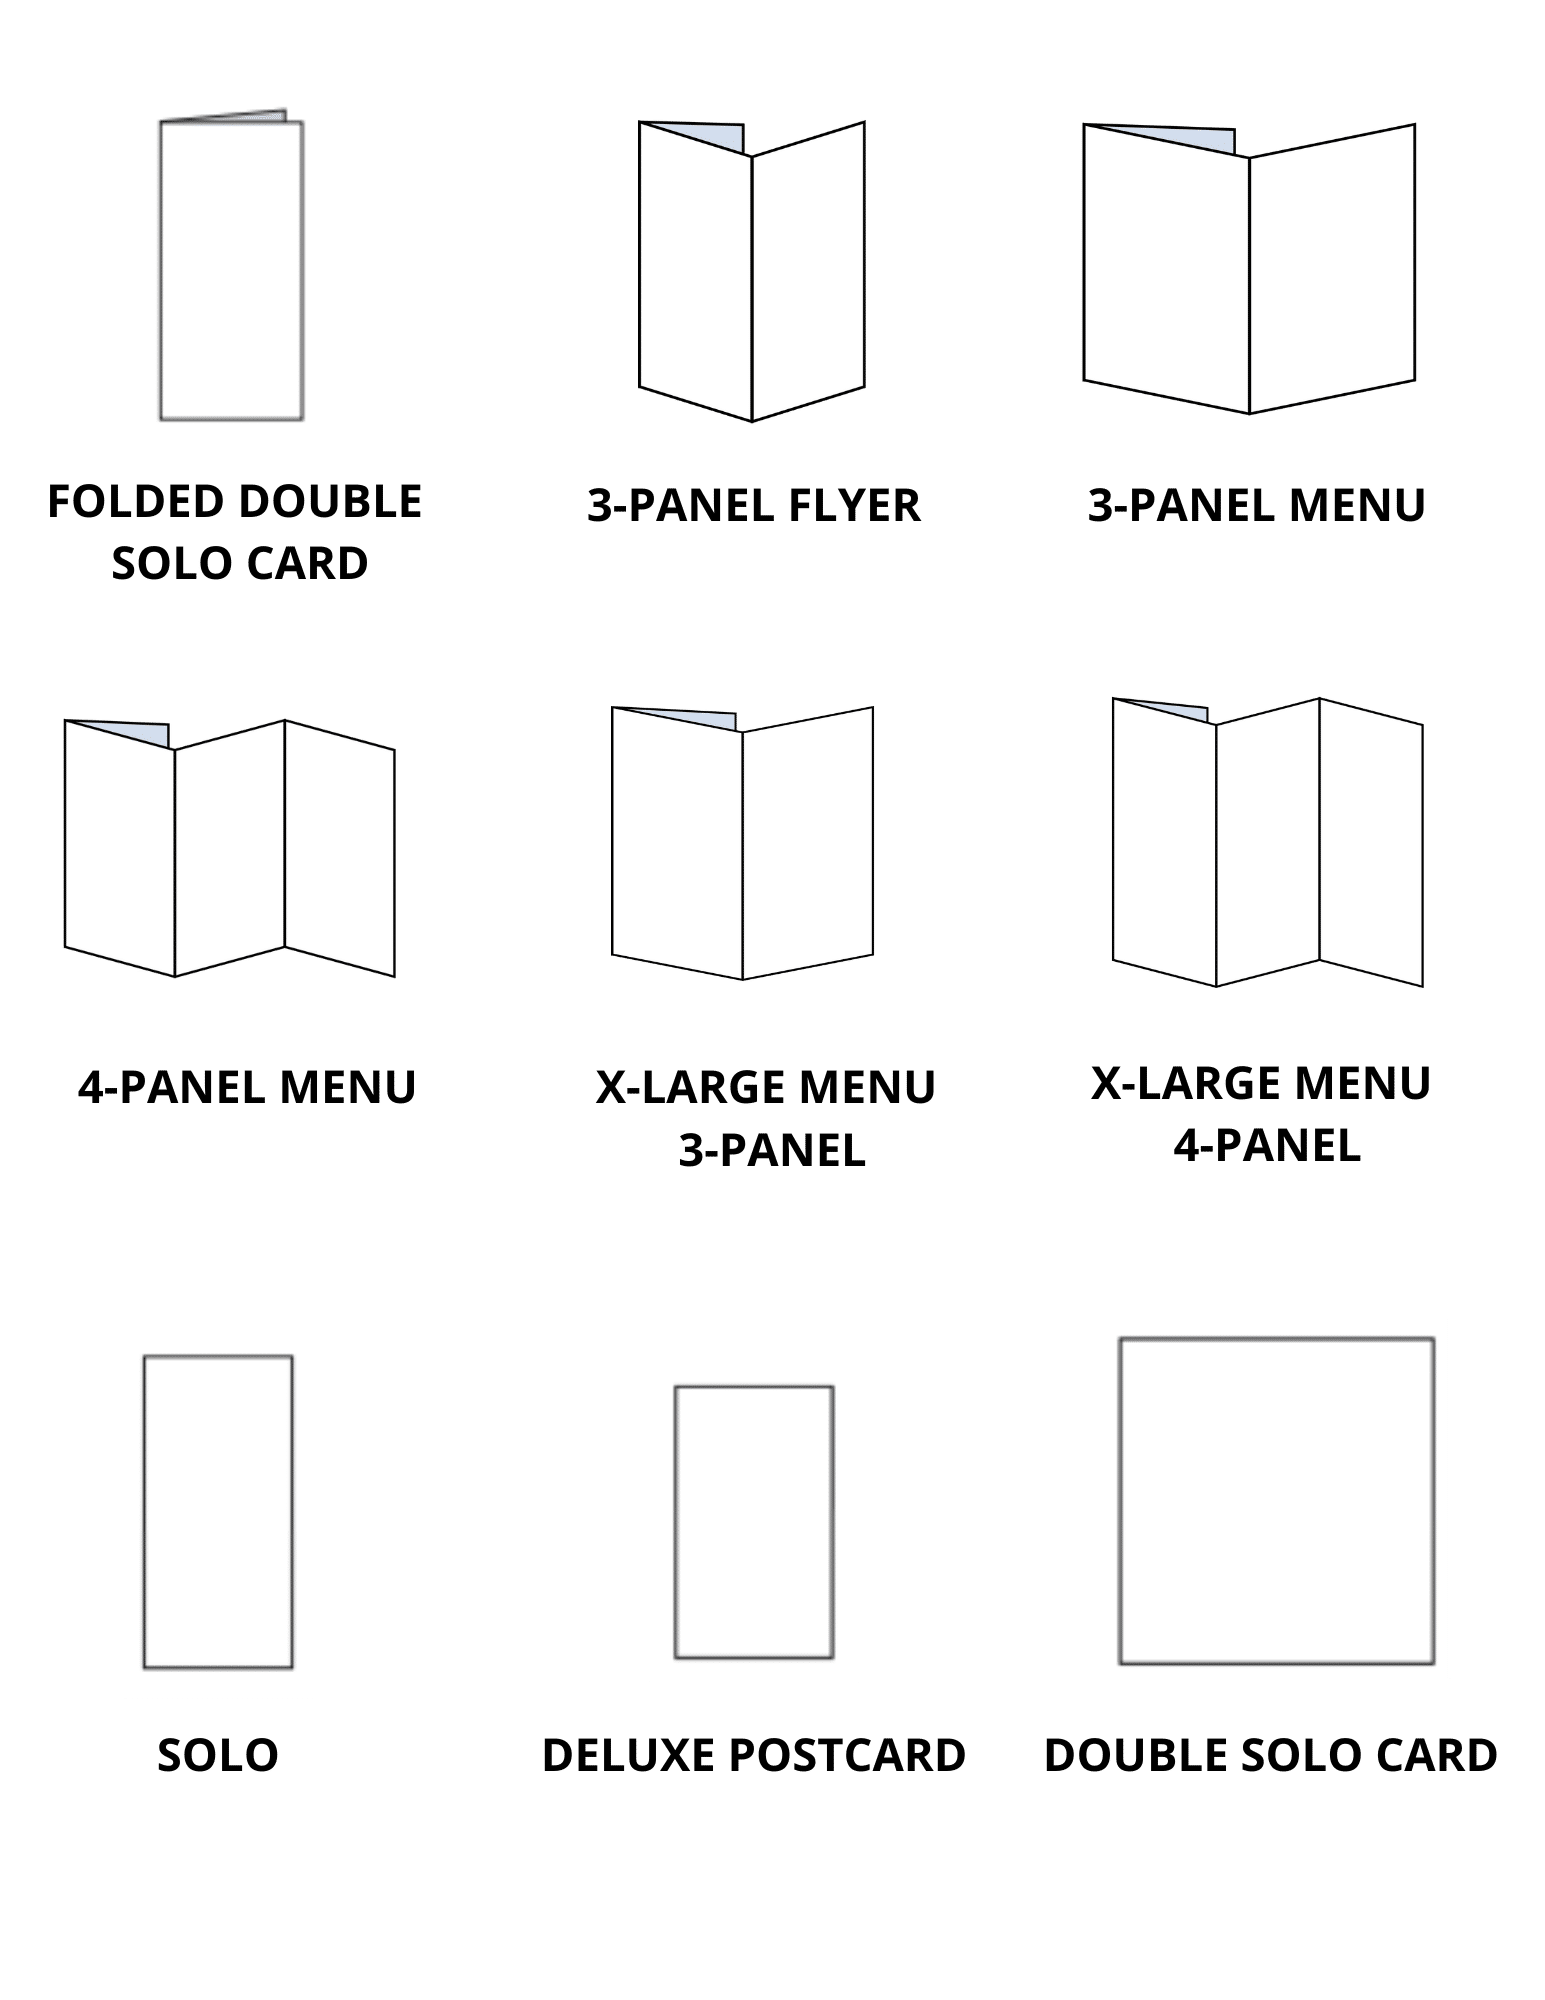
These are the easy ones that you probably used for a high-school project at some point. These methods are the most common, and also the most affordable. Here’s a chart of some common paper fold and format types to help with communication to your printer.
Half-Fold and Vertical Half-Fold
The classic half-fold is when you simply fold the paper once down the middle. A standard half-fold starts with the paper in landscape orientation, bringing the short edges together. A vertical half-fold starts in portrait instead of landscape orientation. The result is a tall, thin document.
Regular half-folds are great for saddle-stitched magazines and books. Vertical half-folds are less common, but work quite well for bulleted lists and cases where having long columns is useful. Tri-folds are perfect for fliers and simple pamphlets.
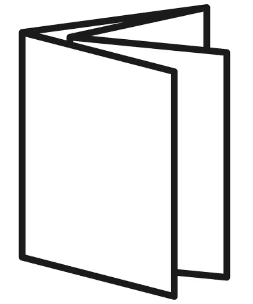
Tri-fold
Everyone has held a trifold in hand at some point. With the paper in landscape orientation, you fold one third from the left over center, and the right third over center in the same way.
A tri-fold will use the left flap as a cover, and the center of the reverse side acts as the back of the document. Each of the three panels has equal width and height. A tri-fold allows you to break up information and avoid distractions.
3-Panel Gate
Making a 3-panel gate is almost the exact same process as making a tri-fold. The only difference is that instead of creating 3 panels of equal size, the outside panels will be exactly half the width of the main panel. This results in the two thinner panels closing over the main one, like a gate split down the middle.
Double Gate Fold
A double gate could also be thought of as a “quad-fold.” You make this by creating 4 panels of equal size. It’s actually quite easy. Fold your paper like you would for a normal half-fold. Then, take each panel and perform a second half-fold. When you open the document, you’ll be looking straight at the double gate.
Roll Fold
A roll fold also contains 4 panels of equal size. The key difference is that instead of the two gate panels opening in opposite directions, the gate on the right-hand side actually consists of two panels.
When you open a roll fold, you can keep rolling the right gate out until you have four panels. The document feels like it rolls back up when you close it, hence the name.
Roll folds are great for hiding information and slowly revealing it. Likewise, wide images can be gradually revealed with a roll fold. Try a roll fold when you have a timeline or horizontal flow chart!
Less Common Paper Folds
These are not used as often as the simple print folding techniques or gatefolds, but fit certain niche applications.
Z-Fold
The Z-fold is similar to a tri-fold. The only difference is that the right flap folds behind the center panel, instead of in front of it. If you stand a Z-fold on a table and look at it from above, it makes a Z shape.
Z-folds allow all three of the inside panels to present one clear image. They also work well for letters when the paper is oriented in portrait mode. Next time you get a letter or a bill, you might notice that it’s a vertical z-fold.
Because the Z-fold opens the same way forwards and backward, it can also be useful for a bilingual brochure. The front cover introduces one language, while the back cover introduces the other. Use the interior two panels for content.

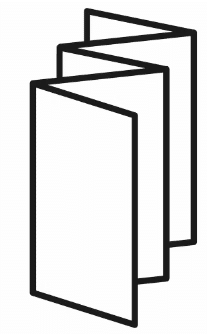
4-Panel, or Accordion Fold
The 4-panel fold, also known as the accordion fold, is made by changing the direction of each new fold. When you hold each end, it will look a lot like an accordion. The zig-zag pattern is quite recognizable.
Although it may seem strange, the 4-panel fold can be one of the most practical. It allows you to turn pages much like a regular book. In addition, because there are no gates or folds in awkward directions, accordion folds will usually take up less space.
What’s more, you can make these as long as you want. Many CD lyric books used this format and some of those are over twenty pages in length.
Double Parallel Fold
Making a double parallel fold is quite similar to the double gatefold. The only difference is that the right edge continues to face right, instead of folding inward and making a gate. The right half of the sheet will tuck right into the left half. Much like the Z-fold, a double parallel gives you a full sheet of paper to display a single area of content. However, it gives you 4 panels instead of 3. The backside gives you two cover panels and two extra ones for information.
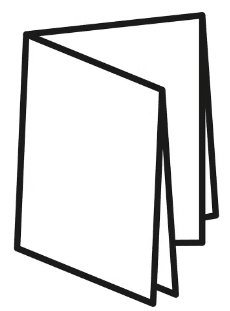
French Fold
The French Fold is actually very easy to make. You just fold the paper in half twice: once horizontally and once vertically. The result will be a page size one-fourth of the original, while retaining its proportions.
Generally, you only print on the inside of the French fold. You can emboss or stamp text into the front panel, making this useful for niche invitations or greeting cards. Opening a French fold is exciting, as the page seems to get bigger as you open it.
Which Print Folding Techniques Do I Need?
If you’re asking yourself this question, you’re not alone. With all these options out there, it can be hard to decide what to do. The first step is probably to contact Dollco Print Solutions Group. Send us your content and we’ll determine the most optimal folds. With our premier partnership with Canada Post, we can even send your material direct to your clients through the mail service. We look forward to helping you with our state-of-the-art print folding techniques.